


Step -by -step manual for installing root Cloth water -permeable

Maintaining optimal soil health and effective water management are essential for successful gardens and landscapes. One of the successful methods that is becoming increasingly popular is the installation of a permeable root cloth A barrier that keeps weeds at bay while simultaneously allowing the necessary moisture and nutrients to reach the plant's roots. This step-by-step guide provides a complete method for installing weed control, including preparation procedures and precise installation methods. These specific steps make this technique easy for both novice and experienced gardeners to apply, resulting in healthier plants, less maintenance, and a greener landscape in their gardening.
Step-by-step guide to installing Root Cloth Water-Permeable
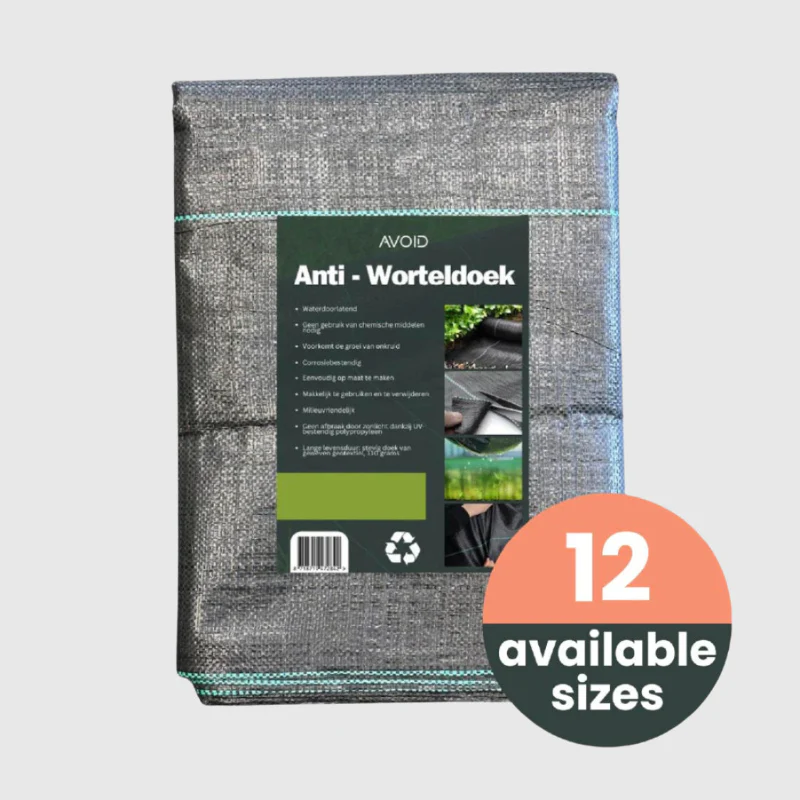
Installing weed barrier fabric, weed barrier fabric, or landscape fabric to ensure water permeability is a simple process that can significantly minimize weed growth while allowing water and nutrients to penetrate the soil. Below is a step-by-step procedure for installing weed barrier fabric, weed barrier fabric, or landscape fabric to ensure water permeability. permeable root cloth for your soil to ensure healthy plant growth.
Step 01: Prepare the area
The first step in installing permeable root cloth is important for a successful and lasting result.
Start by thoroughly clearing the area to be installed of all existing vegetation, such as grass, weeds, and any resistant roots. Removing not only the above-ground plant material but also the underground root system is important to prevent regrowth that could undermine the weed barrier.
After removing the vegetation, level the ground as much as possible. This may involve filling in low areas or raking away any large bumps or irregularities. A reasonably smooth surface ensures even contact between the weed barrier and the soil, making it work as effectively as possible.
Finally, remove any stones, rocks, or sharp debris left in the area.

Step 2: Laying the root cloth so that it is water-permeable
Now that your ground surface is ready, smooth, and free of debris, the second important step is to carefully lay the permeable root cloth.
Begin by rolling out your selected weed barrier material along your prepared area. It's usually best to start at an edge or corner of your planting area and work your way out from there.
Carefully place the cloth so that it lies flat on the ground surface without any dramatic wrinkles or folds.
Overlap the adjacent pieces of weed barrier perfectly. This overlap is crucial to prevent roots from bursting through seams and to ensure the barrier's continuous permeability.
Cutting the root cloth to fit certain shapes or around existing features, if necessary, should be done with sharp scissors or a utility knife to ensure crisp edges.
Be patient at this point to ensure the root cloth is positioned and secured properly.
Step 03: Securing the canvas
Now that the weed barrier is spread out over your prepared area, the next important step is to secure it firmly in place. This prevents movement during later steps and ensures the barrier effectively suppresses weed growth and allows water to drain through the desired area.
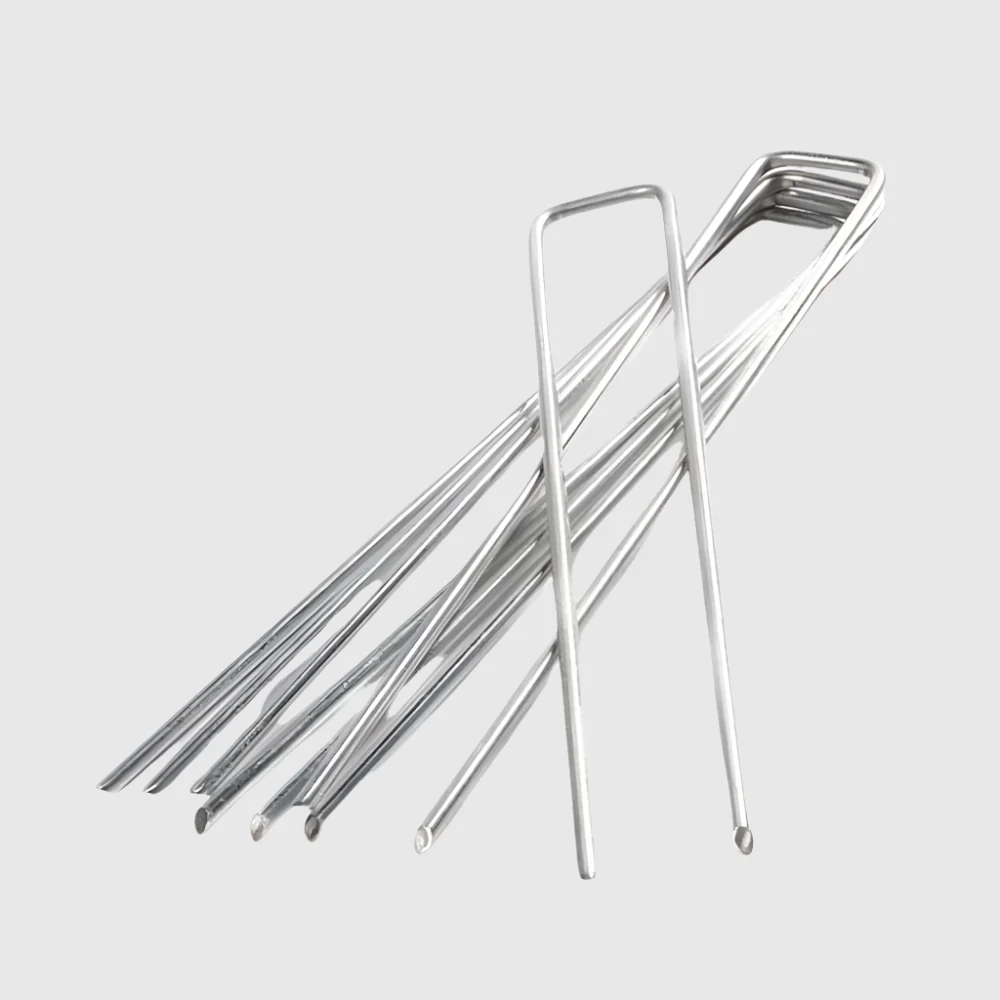
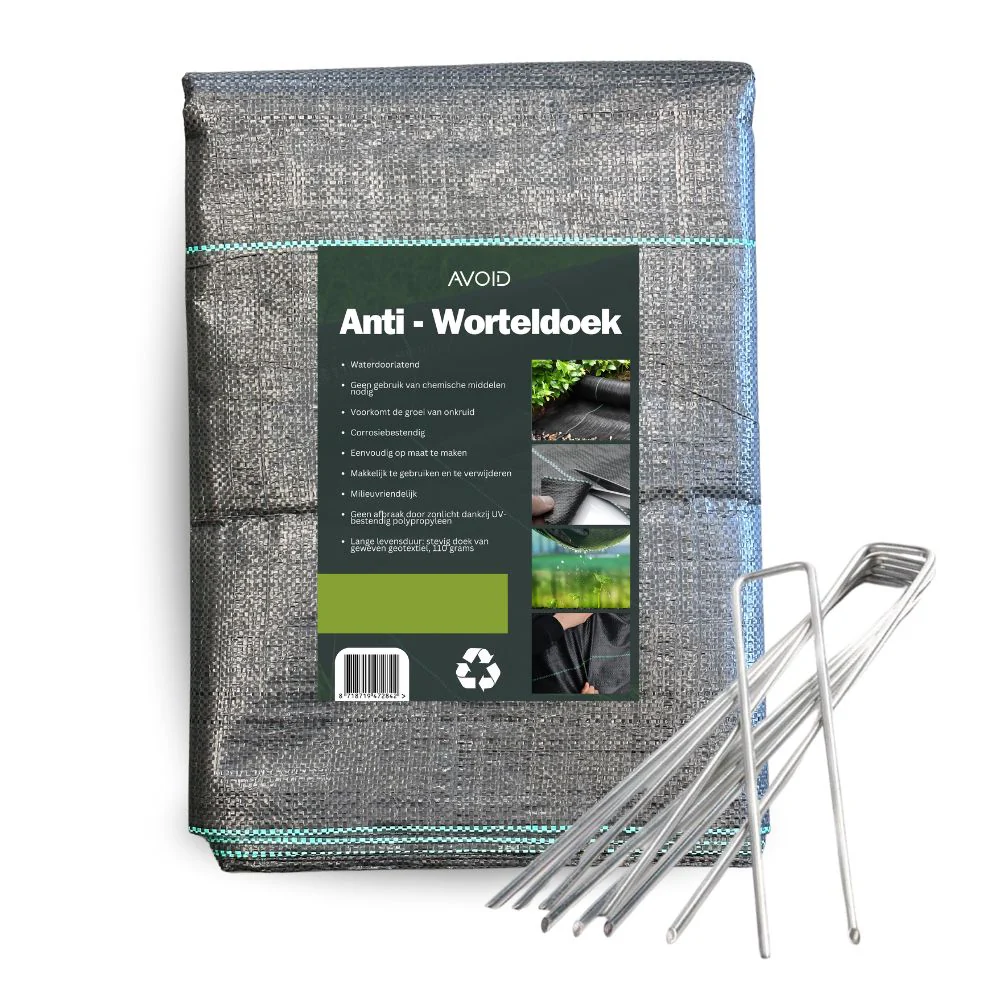
Start by using landscaping staples, usually U-shaped metal pins specifically designed for this purpose. Place the staples approximately every 12-18 inches on all edges of the canvas, including the inside. Drive the staples firmly into the ground and through the canvas, ensuring they go far enough to provide a secure grip.
For added protection, especially in windy areas or on slopes, overlap the edges of two adjacent pieces of weed barrier fabric by at least 6-12 inches and staple them together.
The idea is to keep the weed barrier taut and in its intended position, providing a solid foundation for your landscaping project.
Step 04: Covering and finishing
Now that the permeable root cloth Once all overlaps have been taken care of, the fourth important step is to cover the material and ensure a clean and usable finish.
Begin by carefully backfilling the excavated soil over the root barrier with the same soil or a suitable growing medium, ensuring the barrier is completely hidden.
Do not use sharp equipment or heavy compaction directly over the groundsheet for garden, so as not to damage it.
Tidy up the edges of the treated area and remove any excess soil or debris to create a clean, visually appealing appearance.
This covering and finishing phase is essential for both the long-term protection the root cloth provides and the overall visual appeal of your landscape.
Conclusion
Installing a permeable root cloth is a simple yet effective step toward developing a healthier and more sustainable garden. This step-by-step guide allows you to easily create an environment that promotes robust root growth while maintaining maximum water and nutrient distribution. This technique not only maximizes plant growth and resilience but also helps conserve water and minimize soil erosion. Implementing permeable root barrier is an investment in the long-term health and effectiveness of your garden, resulting in healthy plants and a greener landscape. To find more garden supplies like this, explore the Premium Garden and Outdoor collection on