


Stucloper Gray Netette Tips for Maximum coverage
It's the construction and renovation phase where protecting your floors can make or break you, and the first line of defense is usually a plastic floor covering. But simply rolling out a sheet of plastic isn't going to make a difference when it comes to achieving optimal protection. To maximize coverage and ensure the safety of your surfaces, you'll need a good game plan, thorough preparation, and a lot of attention to detail. This guide will give you all sorts of installation tips—from how to choose materials to surface preparation to how to properly install the Plaster runner Gray for complete, dust-proof coverage against everything from dust to dirt to damage.
Preparing gray plaster runner for installation
The Plaster runner Grey is perfect for effectively protecting and securing your floors by preventing spills and dents from occurring while working on a construction or renovation project. The Plaster runner Grey is easy to install and maintain and requires a few steps to prepare your floor for heavier construction jobs.
To prepare your drywall runner for installation, you will need to do the following:
-
Choose the compatible plaster runner for your field or location that works well with the surface you plan to use it on.
-
Please use the user manual or instructions as stated in the product to get an idea about the application of the plastic runner and understand the measures to be taken into consideration.
-
For smoother application of the plaster runner, make sure you have not received a damaged product with cracks or defects.
-
Gather all essential tools, tape measure, pencil, etc., as listed in the product instructions to prepare yourself for installing the drywall runner at your location.
The Plaster runner Grey from
The Plaster runner Grey from
-
Compatibility with different surfaces and floors, making it the best for any kind of project.
-
Effective protection against spills and dents that occur during work.
-
Eco-friendly design that is safe for the environment and made from recycled materials.
-
Easy installation system by simply rolling it out over the surface and removing it at any time.

Step-by-step application for plaster runner gray
Here is the step by step application process for Plaster runner Gray that will help you achieve a smoother runner application and protect your floor from significant damage and floor ruins.
-
Step 01 - Clean the Surface : Before applying your plaster runner to the surface, you need to make sure that your surface is clean of any dirt or debris. You can clean the area using cleaning tools and prepare your location for the application.
-
Step 02 - Take Measurements : Measure the location where you want to apply your plaster runner and calculate the amount of plaster runner needed to cover the entire area for ultimate protection. Measure your plaster runner before cutting it to
avoid mismatching the measurements of the location. -
Step 03 - Cutting Drywall : After taking accurate measurements, cut your drywall using a cutting tool such as scissors, cutter, etc. along with the ruler for accurate cutting. For cutting curves, you can use a special cutter for suitable cuts and
avoid damaging your drywall. -
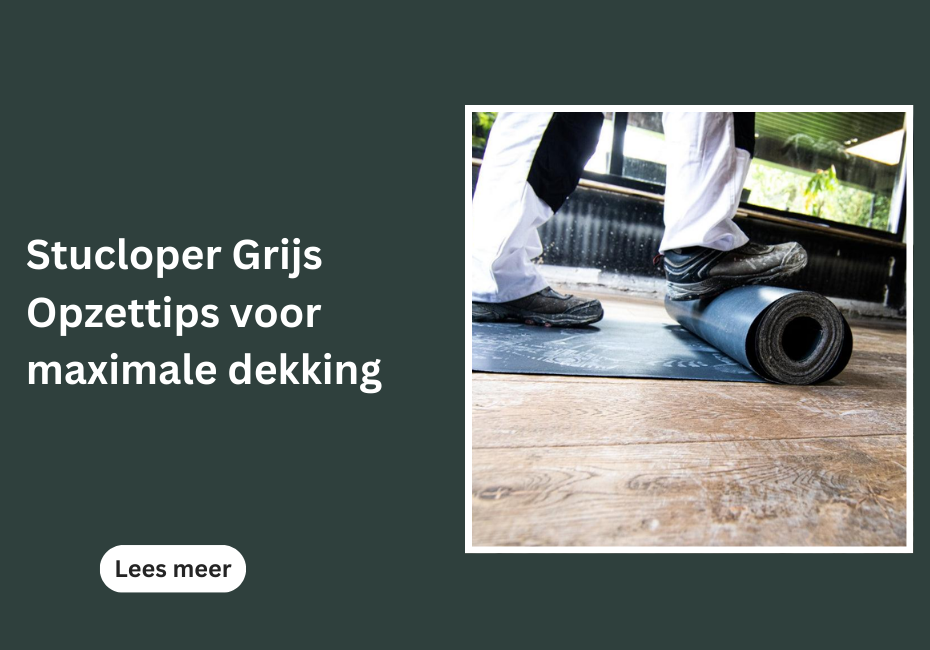
Step 04 - Roll out the plastic runner : After cutting your drywall, lay it down on the application area and check to make sure it has covered the area perfectly as expected. For any additional changes, cut the existing piece or a new piece for a precise drywall application.
-
Step 05 - Apply Strong Tape : Apply a compatible drywall tape with a strong adhesive to effectively stick your drywall to the area without any damage in between the ongoing construction project. If you have a self-adhesive plaster runner , you can peel off the backing and roll it over your board.
-
Step 06 - Check for Proper Application : Once you have successfully applied your plaster runner, check the edges or corners for any chips next to the tape and use additional tape for better sealing and adhesion to the floor or terrain.
If you notice any abnormalities in the application, remove the runner and try again.
Best Practices for Maximum Coverage with Plaster Runner Gray
Here are some of the best practices to ensure maximum protection along with the Plaster runner Gray and to protect your floor from scratches or spills that will significantly ruin your floor surface.
-
Compatibility : Find the plater runner that works best for your location depending on the intensity of the work construction process that will be carried out after applying the runner, whether it is tolerating heavier loads or minor paint spills during your renovation or construction projects.
-
Thickness : If your location is dealing with a load of heavy and rough tasks, make sure you get it plaster runner that is thicker in size to withstand any kind of construction task without the floor getting damaged in any way.
-
Accurate Measurements : Taking accurate measurements for your plaster runner is essential to accurately cover the maximum area without any discrepancy during application. This ensures proper application and prevents flaking or cracking in the future.
-
Smooth Cutting : Smooth cutting brings out the precise application of the plaster runner on your site for smoother coverage without wasting your product and helps you use it efficiently.
-
Stronger Seal : Use a strong adhesive tape or sealant to perfectly apply your plaster runner to the surface of your location. This will ensure that the risks of your plaster runner peeling and cracking are reduced.
Conclusion
To achieve the maximum coverage of a gray plaster runner, a careful approach is required that combines preparation and execution. The cleanliness of the surface should be considered first, the right type and thickness of the Plaster Runner Gray should be selected and safe installation methods should be used. This will then create an invulnerable cover against construction debris and damage. Regular inspections and prompt repairs will ensure that your protective layer lasts a long time and continues to perform its function effectively.
Visit the